This post contains affiliate links. As an Amazon Associate, we may earn a commission from qualifying purchases at no extra cost to you.
Foam rolling is one of the most commonly done and most commonly done wrong recovery practices in fitness. Most people grab a foam roller, roll back and forth quickly over sore muscles, and call it done. That approach delivers maybe 20% of the benefit available. Done correctly, foam rolling is one of the highest-return recovery practices you can build into your routine — reducing soreness, improving range of motion, and accelerating recovery between sessions.
Here’s exactly how to do it right, muscle by muscle.
What Foam Rolling Actually Does
Foam rolling is a form of self-myofascial release — applying sustained pressure to soft tissue to release tension, improve blood flow, and reduce adhesions in the fascia (the connective tissue surrounding muscles). Think of it as a DIY deep tissue massage you can perform anywhere in 10–15 minutes.
The research on foam rolling shows consistent benefits including reduced delayed onset muscle soreness (DOMS), improved range of motion when performed before stretching, faster perceived recovery between sessions, and reduced muscle stiffness. These benefits are real and well-documented — but they depend entirely on using the right technique.
The 4 Rules of Effective Foam Rolling
Rule 1 — Go slow. Roll at roughly one inch per second. Most people roll 10x too fast. Speed prevents the nervous system from releasing tension in the tissue and turns foam rolling into a massage that barely penetrates the surface.
Rule 2 — Find and hold tender spots. When you locate a tender area, stop moving and hold sustained pressure there for 20–30 seconds. This is where most of the benefit happens. The discomfort will ease as the tissue releases — that’s the signal to move on.
Rule 3 — Breathe through it. Tight spots are uncomfortable. Slow, controlled breathing activates the parasympathetic nervous system and helps your muscles relax into the pressure rather than tensing against it. Holding your breath defeats the purpose.
Rule 4 — Control the pressure. Use your bodyweight to control how much pressure you apply by offloading some weight through your hands or the opposite leg. More pressure isn’t always better — sensitive areas or tight muscles new to foam rolling need lighter pressure first.
When to Foam Roll
Pre-workout (5 minutes): Roll major muscle groups you’re about to train to increase blood flow, improve range of motion, and prepare tissue for load. Keep pre-workout rolling to 60–90 seconds per muscle group — longer than this pre-workout may temporarily reduce power output.
Post-workout (10–15 minutes): The primary use case. Roll all major muscle groups worked during the session to reduce DOMS and begin the recovery process while muscles are still warm.
Rest days (10 minutes): Active recovery rolling on non-training days maintains tissue quality and accelerates recovery. Particularly valuable during high-volume training phases.
Before bed: Rolling before sleep pairs naturally with the body’s overnight repair processes. Particularly effective combined with aromatherapy — see our Best Aromatherapy Diffusers guide.
How to Foam Roll Every Major Muscle Group
Quads (Front of Thigh)
Position: Face down, roller under your thighs, supported on your forearms.
Movement: Slowly roll from just above the knee to just below the hip flexor. Keep your core engaged and spine neutral.
Tender spot tip: When you find a knot, turn your toes inward or outward slightly to access different portions of the quad.
Duration: 60–90 seconds per leg.
Avoid: Rolling directly over the kneecap.
Hamstrings (Back of Thigh)
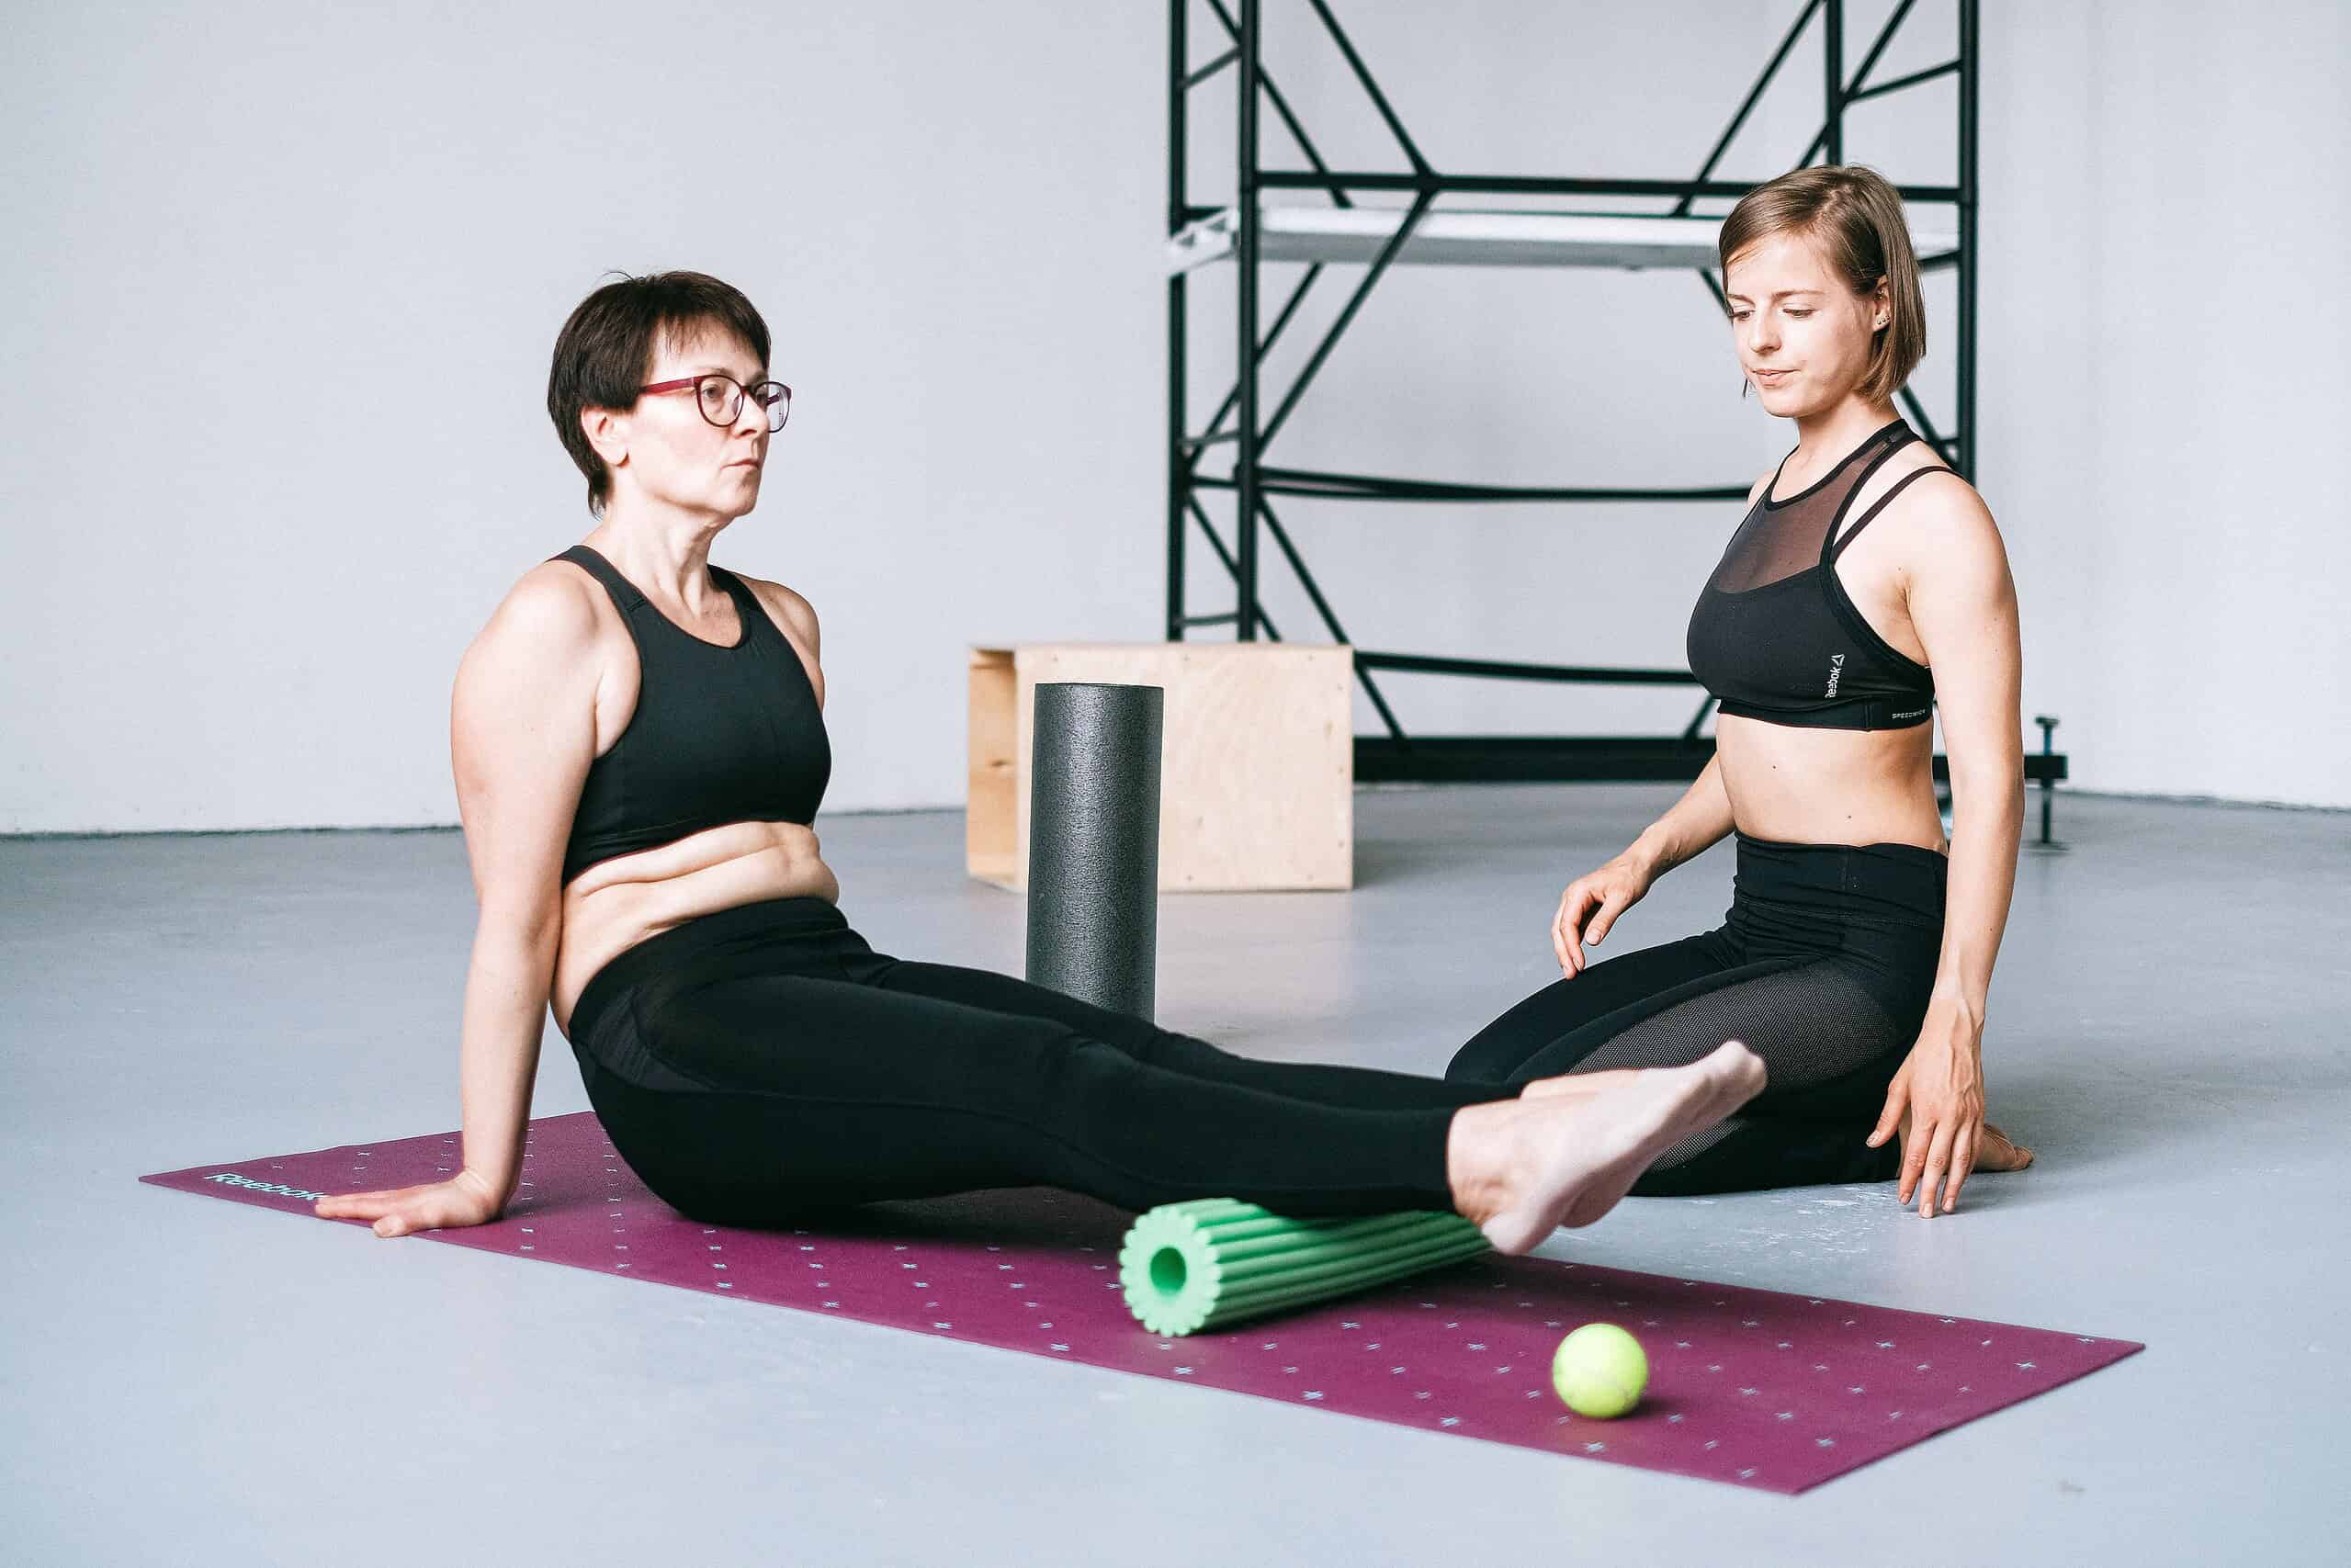
Position: Seated with roller under one thigh, opposite leg crossed over for added pressure, hands on the floor behind you.
Movement: Slowly roll from just above the knee to just below the glute.
Tender spot tip: Internally and externally rotating your foot accesses the medial and lateral hamstring separately.
Duration: 60–90 seconds per leg.
IT Band (Outer Thigh)
Important: Don’t roll directly on the IT band. It’s a dense tendon, not a muscle — direct percussion aggravates it. Instead, roll the outer quad (vastus lateralis) just in front of the IT band, and the outer hamstring behind it.
Position: Side-lying, roller under the outer thigh, stacked feet or top foot on the floor for pressure control.
Duration: 60 seconds per side on the muscles flanking the IT band.
Glutes and Piriformis
Position: Seated on the roller with one ankle crossed over the opposite knee (figure-4 position). Lean toward the crossed-leg side to access the piriformis.
Movement: Slowly shift your bodyweight around the glute, exploring for tender spots.
Duration: 60–90 seconds per side.
Why it matters: Tight glutes and piriformis contribute to lower back pain, hip impingement, and knee tracking issues — one of the highest-value areas to roll consistently.
Calves
Position: Seated with roller under one calf, opposite leg on top for added pressure, hands on floor behind you.
Movement: Roll from just above the Achilles tendon to just below the back of the knee.
Tender spot tip: Pointing and flexing your foot while on a tender spot accesses different portions of the gastrocnemius and soleus.
Duration: 60–90 seconds per leg.
Avoid: Rolling directly on the Achilles tendon.
Upper Back (Thoracic Spine)
Position: Lying on your back, roller perpendicular to your spine at mid-back level, hands behind your head to support your neck, feet flat on the floor.
Movement: Use your feet to slowly move your body so the roller travels from the bottom of your shoulder blades to the base of your neck.
Optional extension: Pause at each vertebral level and gently extend your upper back over the roller for thoracic mobility.
Duration: 90 seconds total.
Avoid: Rolling your lower back (lumbar spine) — the absence of the ribcage for support means direct rolling here can stress the vertebrae and surrounding structures.
Lats (Side of Back)
Position: Side-lying with roller under your armpit, arm extended overhead.
Movement: Roll slowly from armpit to mid-ribcage.
Duration: 60 seconds per side.
Why it matters: Tight lats pull the shoulders forward, contributing to poor posture, shoulder impingement, and reduced overhead range of motion.
Chest and Pec Minor
Position: Face down, roller positioned diagonally under one pec, arm extended to the side.
Movement: Very slowly shift your weight over the pec, exploring for tight spots.
Duration: 45–60 seconds per side.
Why it matters: Desk work and pressing exercises create chronic pec tightness that pulls shoulders into internal rotation — rolling here directly counteracts this pattern.
Hip Flexors
Position: Face down in a half-kneeling position, roller under the hip flexor of the front leg (just below the hip bone, inside of the front of the hip).
Movement: Very small, slow movements exploring the hip flexor tissue.
Duration: 45–60 seconds per side.
Why it matters: Sitting all day chronically shortens hip flexors, contributing to anterior pelvic tilt, lower back pain, and reduced athletic performance.
Shoulders and Rotator Cuff
Position: Side-lying with roller under the back of the shoulder, arm reaching across the body.
Movement: Very slow, small movements around the posterior shoulder.
Duration: 45–60 seconds per side.
Caution: This is a sensitive area — use lighter pressure than you would on larger muscle groups.
A Complete 15-Minute Foam Rolling Routine
Pre-workout (5 minutes):
- Quads: 60 seconds each
- Calves: 45 seconds each
- Upper back: 60 seconds
Post-workout (10 minutes):
- Quads: 90 seconds each
- Hamstrings: 90 seconds each
- Glutes/piriformis: 60 seconds each
- Upper back and lats: 90 seconds total
- Calves: 60 seconds each
- Hip flexors: 45 seconds each
Choosing the Right Foam Roller
Different densities and textures work better for different purposes and experience levels. See our complete Best Foam Rollers for Muscle Recovery guide for specific product recommendations.
Soft/smooth rollers — best for beginners and sensitive areas. Gentler pressure that’s easier to tolerate when starting out.
Medium/textured rollers — the most versatile option for most people. Enough texture to dig into muscle tissue without being overwhelming.
Firm/deep textured rollers — for experienced users who need significant pressure to get results. Not appropriate for beginners.
Vibrating rollers — combine foam rolling with vibration therapy for amplified recovery effects. Worth the investment for serious athletes and chronic tightness.
Frequently Asked Questions
How often should I foam roll?
Daily is safe and beneficial. Pre-workout, post-workout, and on rest days all have value. The minimum effective frequency for maintaining tissue quality is 3–4 times per week targeting your most commonly tight areas.
Is it normal for foam rolling to hurt?
Tender spots are normal and expected — the “hurts so good” sensation indicates active tissue release. Sharp pain, joint pain, or pain that worsens with rolling are signals to stop. If rolling a specific area is consistently very painful, consult a physical therapist.
How long should I foam roll each muscle?
60–90 seconds per muscle group is the evidence-based recommendation. More time doesn’t proportionally increase benefit. Focus on quality of contact and finding tender spots rather than maximizing time.
Can foam rolling replace stretching?
They complement each other rather than replacing one another. Foam rolling releases tension in the muscle tissue itself. Stretching lengthens the muscle. Rolling first, then stretching, produces better flexibility gains than either alone.
Should I foam roll before or after a workout?
Both, for different purposes. Pre-workout rolling (5 minutes) improves range of motion and prepares tissue for load. Post-workout rolling (10–15 minutes) reduces soreness and accelerates recovery. If you can only do one, post-workout is more valuable for most people.